Orchids are among the most elegant and captivating houseplants, prized for their stunning flowers and exotic appearance. While they may seem delicate or difficult to grow, orchids can thrive indoors with the right care. By understanding their specific needs—such as proper lighting, humidity, and watering—you can enjoy their beauty for years to come.
Unlike traditional houseplants, orchids have unique growth habits and require different care techniques. Most orchids are epiphytes, meaning they grow on trees rather than in soil. This makes their care slightly different from that of potted plants. Whether you are a beginner or an experienced plant enthusiast, this guide will help you learn how to successfully grow and maintain orchids indoors.
The Benefits of Growing Orchids Indoors
1. Long-Lasting Blooms
Unlike many other flowering houseplants, orchids can bloom for weeks or even months, adding color and elegance to your home.
2. Low Maintenance Once Established
Although orchids have specific needs, they require minimal care once you understand their growth cycle.
3. Improves Indoor Air Quality
Like other plants, orchids help purify the air by absorbing carbon dioxide and releasing oxygen.
4. Adds a Sophisticated Touch to Any Space
Orchids bring a refined and tropical ambiance to any indoor environment, whether placed on a windowsill, desk, or coffee table.
5. A Rewarding Hobby
Caring for orchids can be a deeply satisfying hobby, with the joy of seeing new flower spikes develop and bloom each year.
Step 1: Choose the Right Orchid for Indoor Growing
There are thousands of orchid species, but some varieties are better suited for indoor environments.
1. Easiest Orchids to Grow Indoors
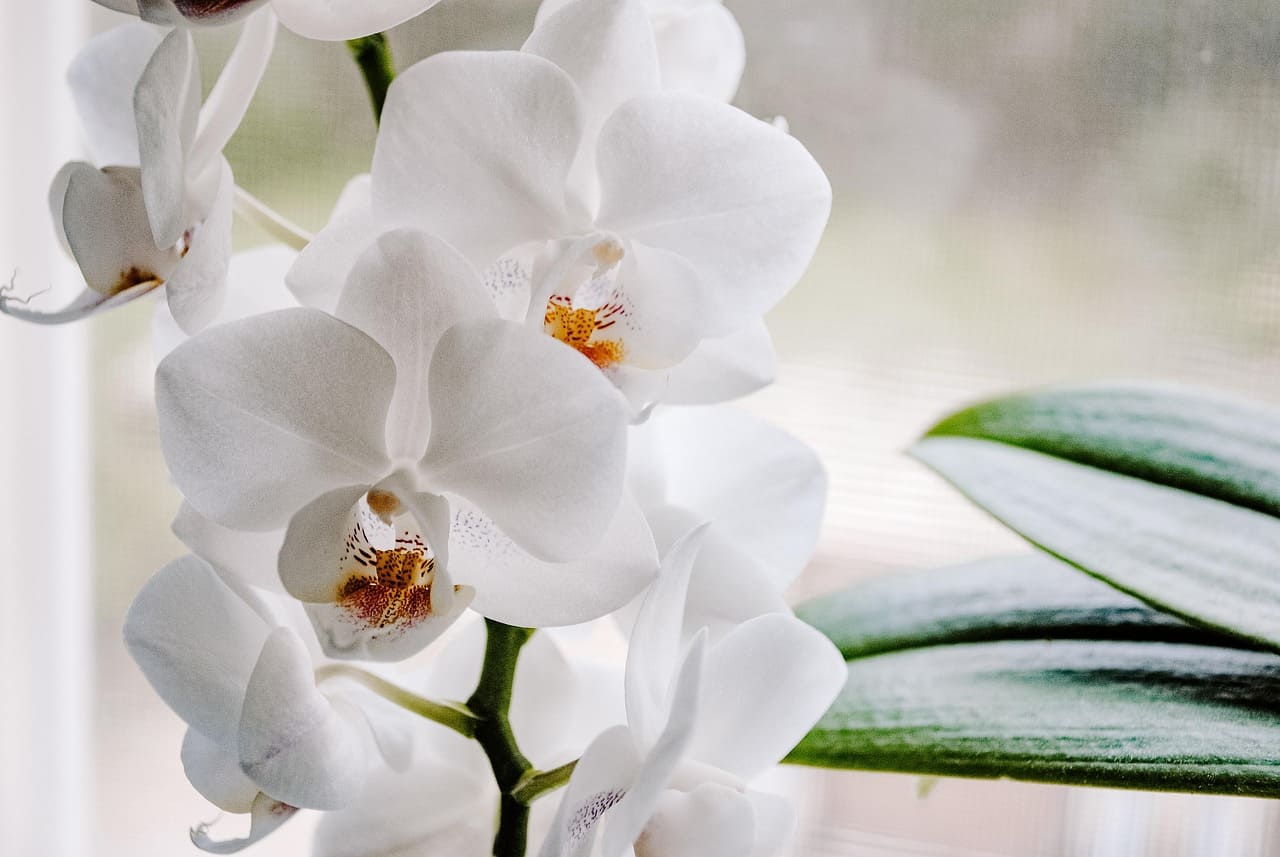
- Phalaenopsis (Moth Orchid): The most common and beginner-friendly orchid. It thrives in typical household conditions and produces long-lasting blooms.
- Dendrobium: Requires slightly more care but rewards growers with stunning, cascading flowers.
- Cattleya: Known for its large, fragrant blooms, often used in corsages.
- Oncidium (Dancing Lady Orchid): Features small, bright yellow or red flowers and prefers bright, indirect light.
- Paphiopedilum (Lady’s Slipper Orchid): Has unique slipper-shaped flowers and adapts well to indoor conditions.
Step 2: Provide the Ideal Lighting for Orchids
1. Bright, Indirect Light Is Best
Orchids need plenty of light to thrive but should be protected from direct sun, which can scorch their leaves. The best locations include:
- An east-facing window (morning sunlight is gentle).
- A south- or west-facing window with sheer curtains to diffuse the light.
2. Signs of Proper vs. Poor Lighting
- Healthy orchids: Leaves are a vibrant green.
- Too much light: Leaves turn yellow or develop sunburn spots.
- Too little light: Leaves are dark green, and the plant may not flower.
3. Artificial Grow Lights
If your home lacks natural sunlight, use LED or fluorescent grow lights, placing them about 12 inches above the orchid for 12-14 hours per day.
Step 3: Select the Right Pot and Growing Medium
1. Use Well-Ventilated Pots
- Orchid pots with drainage holes and slits allow for airflow and prevent water from sitting around the roots.
- Clay pots absorb excess moisture, while plastic pots retain more humidity.
2. Best Growing Mediums for Orchids
Unlike most houseplants, orchids do not grow in regular soil. Instead, use:
- Bark mix (fir bark, cypress, or coconut husk): Provides excellent drainage.
- Sphagnum moss: Retains moisture and is useful for orchids needing extra humidity.
- Perlite and charcoal: Improve aeration and prevent root rot.
Step 4: Watering Orchids Correctly
1. Water Only When Needed
Overwatering is one of the biggest mistakes when caring for orchids. The best watering practice includes:
- Checking the roots and growing medium—if they are dry, it’s time to water.
- Watering about once a week, but adjusting based on temperature and humidity.
2. Best Watering Techniques
- Soaking Method: Place the orchid pot in a bowl of water for 5-10 minutes, allowing the roots to absorb moisture. Drain thoroughly.
- Ice Cube Method (for Phalaenopsis orchids only): Place 2-3 ice cubes on the growing medium once a week for slow watering.
- Avoid getting water in the crown (center of the leaves) to prevent rot.
3. Signs of Overwatering vs. Underwatering
- Overwatering: Mushy, brown roots and yellowing leaves.
- Underwatering: Wrinkled or shriveled roots and limp leaves.
Step 5: Maintain Proper Humidity and Temperature
1. Ideal Humidity Levels
Orchids prefer 50-70% humidity, which is higher than the average home. Increase humidity by:
- Using a humidity tray (a shallow tray filled with pebbles and water).
- Grouping orchids together to create a humid microclimate.
- Running a humidifier in dry climates or during winter.
2. Optimal Temperature Range
- Daytime: 65-75°F (18-24°C).
- Nighttime: 55-65°F (13-18°C).
- A slight temperature drop at night encourages flowering.
Step 6: Fertilizing for Healthy Growth
1. Use a Balanced Orchid Fertilizer
- Apply a weak liquid fertilizer (like 20-20-20) every two weeks during the growing season.
- Reduce fertilizing in fall and winter when growth slows.
2. Follow the “Weekly, Weakly” Rule
Dilute fertilizer to half or quarter strength to prevent overfeeding, which can damage roots.
Step 7: Encouraging Blooms and Orchid Reblooming
1. Provide Proper Lighting and Temperature Drops
- Phalaenopsis orchids often rebloom if exposed to cooler temperatures (55-65°F) for a few weeks.
2. Be Patient with Flowering Cycles
- Orchids may go dormant for months before reblooming.
- Continue regular care, even when not in bloom.
3. Trim the Flower Spike Properly
- If the flower spike is green, cut it just above a node to encourage a new bloom.
- If the spike is brown, trim it at the base to allow new growth.
Step 8: Repotting Orchids When Necessary
1. When to Repot
- Every 1-2 years, or when the potting mix breaks down.
- If the roots outgrow the pot or become mushy.
2. How to Repot an Orchid
- Remove the orchid from its pot and trim any dead roots.
- Replace with fresh bark or sphagnum moss.
- Water lightly after repotting to allow roots to adjust.
Final Thoughts: Enjoying Your Indoor Orchids
Caring for orchids indoors is easier than it seems once you understand their needs. With proper light, humidity, watering, and occasional fertilizing, your orchid can thrive and bloom year after year. Orchids bring beauty, elegance, and a touch of the exotic into any home, making them a rewarding and captivating plant to grow.
Start your orchid-growing journey today and enjoy the satisfaction of watching these remarkable flowers flourish in your indoor space. With patience and proper care, you’ll soon have a thriving collection of orchids bringing nature’s beauty into your home.