Hydrangeas are among the most beloved flowering shrubs, known for their lush, vibrant blooms and ability to add beauty to any garden. With a wide range of colors and varieties, hydrangeas can thrive in different climates and garden settings. Whether you want a statement plant for your landscape, a hedge for privacy, or a beautiful potted display, hydrangeas are a versatile and rewarding choice.
Despite their elegant appearance, hydrangeas are relatively easy to grow with the right care. By selecting the appropriate variety, ensuring proper soil conditions, and following essential maintenance practices, you can enjoy stunning hydrangea blooms season after season. This guide will walk you through everything you need to know about growing and caring for hydrangeas.
The Benefits of Growing Hydrangeas
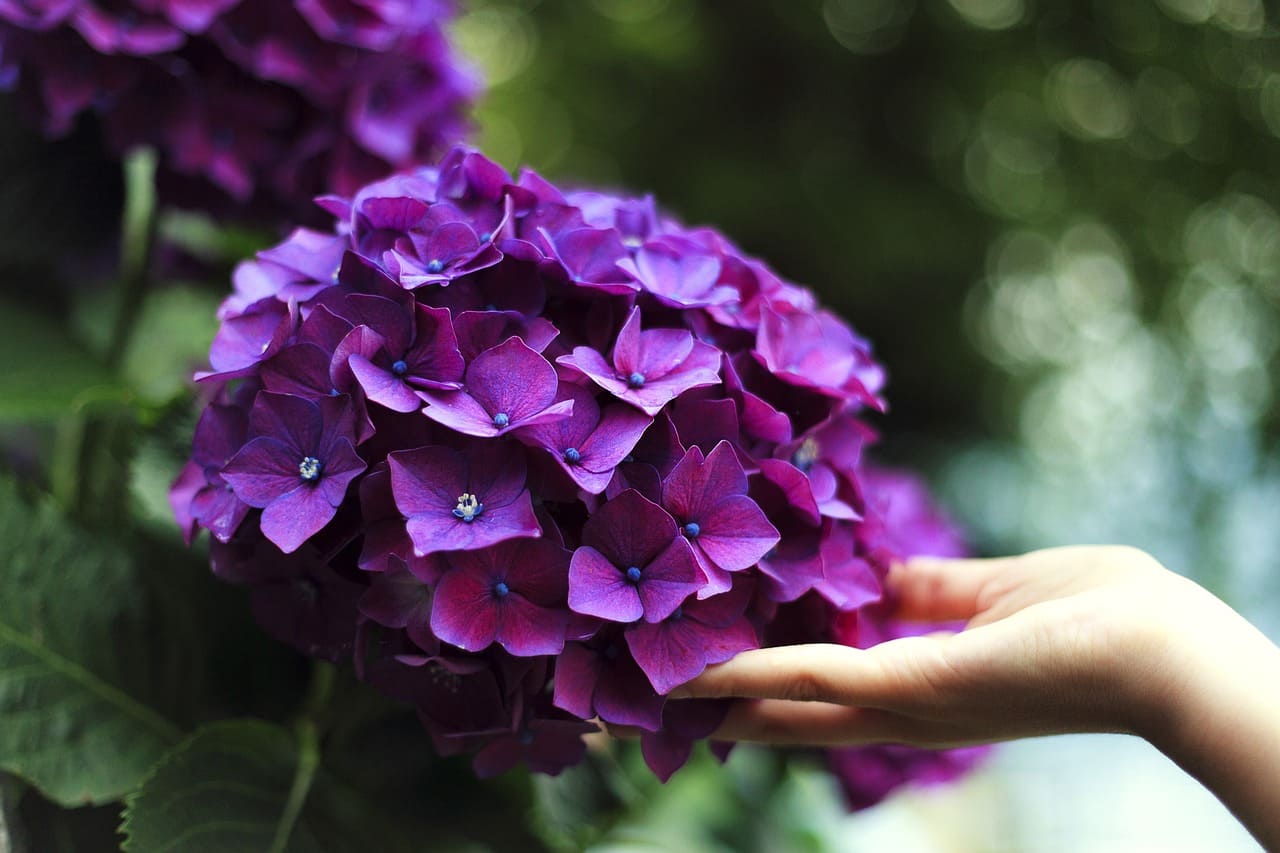
1. Stunning Blooms in a Variety of Colors
Hydrangeas produce large, showy flowers that range from blue and pink to white, purple, and even green.
2. Long Blooming Season
Many hydrangea varieties bloom from late spring to early fall, providing months of color and beauty.
3. Low Maintenance Once Established
With proper planting and occasional pruning, hydrangeas require minimal care while offering maximum impact.
4. Adaptable to Different Garden Styles
Hydrangeas can be grown in garden beds, containers, or as foundation plants, making them suitable for both formal and cottage-style landscapes.
5. Attracts Pollinators
Butterflies and bees love hydrangea blooms, contributing to a healthy garden ecosystem.
Step 1: Choosing the Right Hydrangea Variety
There are several types of hydrangeas, each with unique characteristics and care requirements. Selecting the right variety ensures success in your garden.
1. Bigleaf Hydrangea (Hydrangea macrophylla)
- Most well-known variety with large, rounded flower clusters.
- Flower color depends on soil pH (blue in acidic soil, pink in alkaline soil).
- Includes mophead (large, globe-like flowers) and lacecap (delicate, flat flowers) varieties.
2. Panicle Hydrangea (Hydrangea paniculata)
- Produces cone-shaped flower clusters that start white and turn pink or red as they mature.
- One of the most sun-tolerant hydrangeas.
- Popular varieties: ‘Limelight,’ ‘Vanilla Strawberry,’ and ‘Pinky Winky.’
3. Oakleaf Hydrangea (Hydrangea quercifolia)
- Recognized for its oak-shaped leaves that turn red in fall.
- Drought-tolerant and ideal for warmer climates.
- Flowers start white and fade to pink or bronze.
4. Smooth Hydrangea (Hydrangea arborescens)
- Features large, white blooms that resemble snowballs.
- Thrives in partial shade and colder climates.
- Common variety: ‘Annabelle.’
5. Climbing Hydrangea (Hydrangea anomala petiolaris)
- A vine-like hydrangea that climbs walls, fences, and trellises.
- Produces fragrant, lacecap-style white flowers.
Step 2: Selecting the Best Planting Location
1. Sunlight Requirements
- Most hydrangeas prefer morning sun and afternoon shade, especially in hotter climates.
- Panicle hydrangeas can tolerate full sun.
- Too much shade can reduce blooming, while too much direct sun can scorch leaves.
2. Soil Conditions for Healthy Growth
- Hydrangeas thrive in rich, well-draining soil with high organic matter.
- Soil should be moist but not waterlogged.
- Altering Soil pH for Color:
- Acidic soil (pH below 6.0) produces blue flowers.
- Neutral to alkaline soil (pH above 6.5) produces pink flowers.
- White hydrangeas remain white regardless of soil pH.
3. Air Circulation and Protection
- Space hydrangeas 3-5 feet apart for good air circulation.
- Avoid planting near structures that trap heat or block airflow.
Step 3: How to Plant Hydrangeas
1. When to Plant
- Spring or fall is the best time to plant hydrangeas, avoiding extreme summer heat.
2. Planting Steps
- Dig a hole twice as wide and as deep as the root ball.
- Mix in compost or organic matter to enrich the soil.
- Place the plant in the hole, ensuring the top of the root ball is level with the ground.
- Backfill with soil, pressing gently to remove air pockets.
- Water thoroughly after planting.
Step 4: Watering and Mulching for Hydrangeas
1. Watering Guidelines
- Hydrangeas need regular watering, about 1 inch per week, especially during dry spells.
- Water deeply at the base to encourage strong root growth.
- Avoid overhead watering to prevent fungal diseases.
2. Using Mulch to Retain Moisture
- Apply a 2-3 inch layer of mulch (bark, shredded leaves, or straw) around the base.
- Mulch helps maintain soil moisture and suppress weeds.
Step 5: Fertilizing for Healthy Growth
1. Choosing the Right Fertilizer
- Use a balanced, slow-release fertilizer (10-10-10 or 12-4-8) in early spring and mid-summer.
- Avoid excessive nitrogen, which promotes leaf growth at the expense of flowers.
2. Adjusting Fertilizer for Flower Color
- For blue flowers: Use a fertilizer high in sulfur or aluminum sulfate.
- For pink flowers: Apply lime to raise soil pH.
Step 6: Pruning Hydrangeas for Maximum Blooms
1. Pruning by Hydrangea Type
- Bigleaf & Oakleaf Hydrangeas: Bloom on old wood, prune only after flowering.
- Panicle & Smooth Hydrangeas: Bloom on new wood, prune in late winter or early spring.
- Climbing Hydrangeas: Prune only to control shape and remove dead wood.
2. Removing Dead Blooms (Deadheading)
- Cut off spent flowers to encourage new blooms and maintain a neat appearance.
Step 7: Preventing and Treating Common Hydrangea Problems
1. Pests
- Aphids & Spider Mites: Treat with neem oil or insecticidal soap.
- Slugs & Snails: Use diatomaceous earth or crushed eggshells to deter them.
2. Diseases
- Powdery Mildew: Improve airflow and avoid overhead watering.
- Leaf Spot & Root Rot: Ensure well-draining soil and remove affected leaves.
Step 8: Winter Care for Hydrangeas
1. Protecting Hydrangeas in Cold Climates
- Apply a thick layer of mulch around the base before winter.
- Wrap plants in burlap or frost cloth if temperatures drop below freezing.
2. Preparing for Spring Growth
- Remove winter protection in early spring when new growth appears.
Final Thoughts: Enjoy Beautiful Hydrangeas Year After Year
With their stunning blooms and versatility, hydrangeas are a fantastic addition to any garden. By selecting the right variety, planting in optimal conditions, and providing proper care, you can enjoy healthy, long-lasting flowers season after season.
Whether you use hydrangeas as a centerpiece in your landscape, as a hedge, or in containers, their vibrant beauty and low-maintenance nature make them a worthwhile investment. Start planting today and experience the joy of growing these timeless, elegant flowers in your garden.